Stockbrot
by Luka
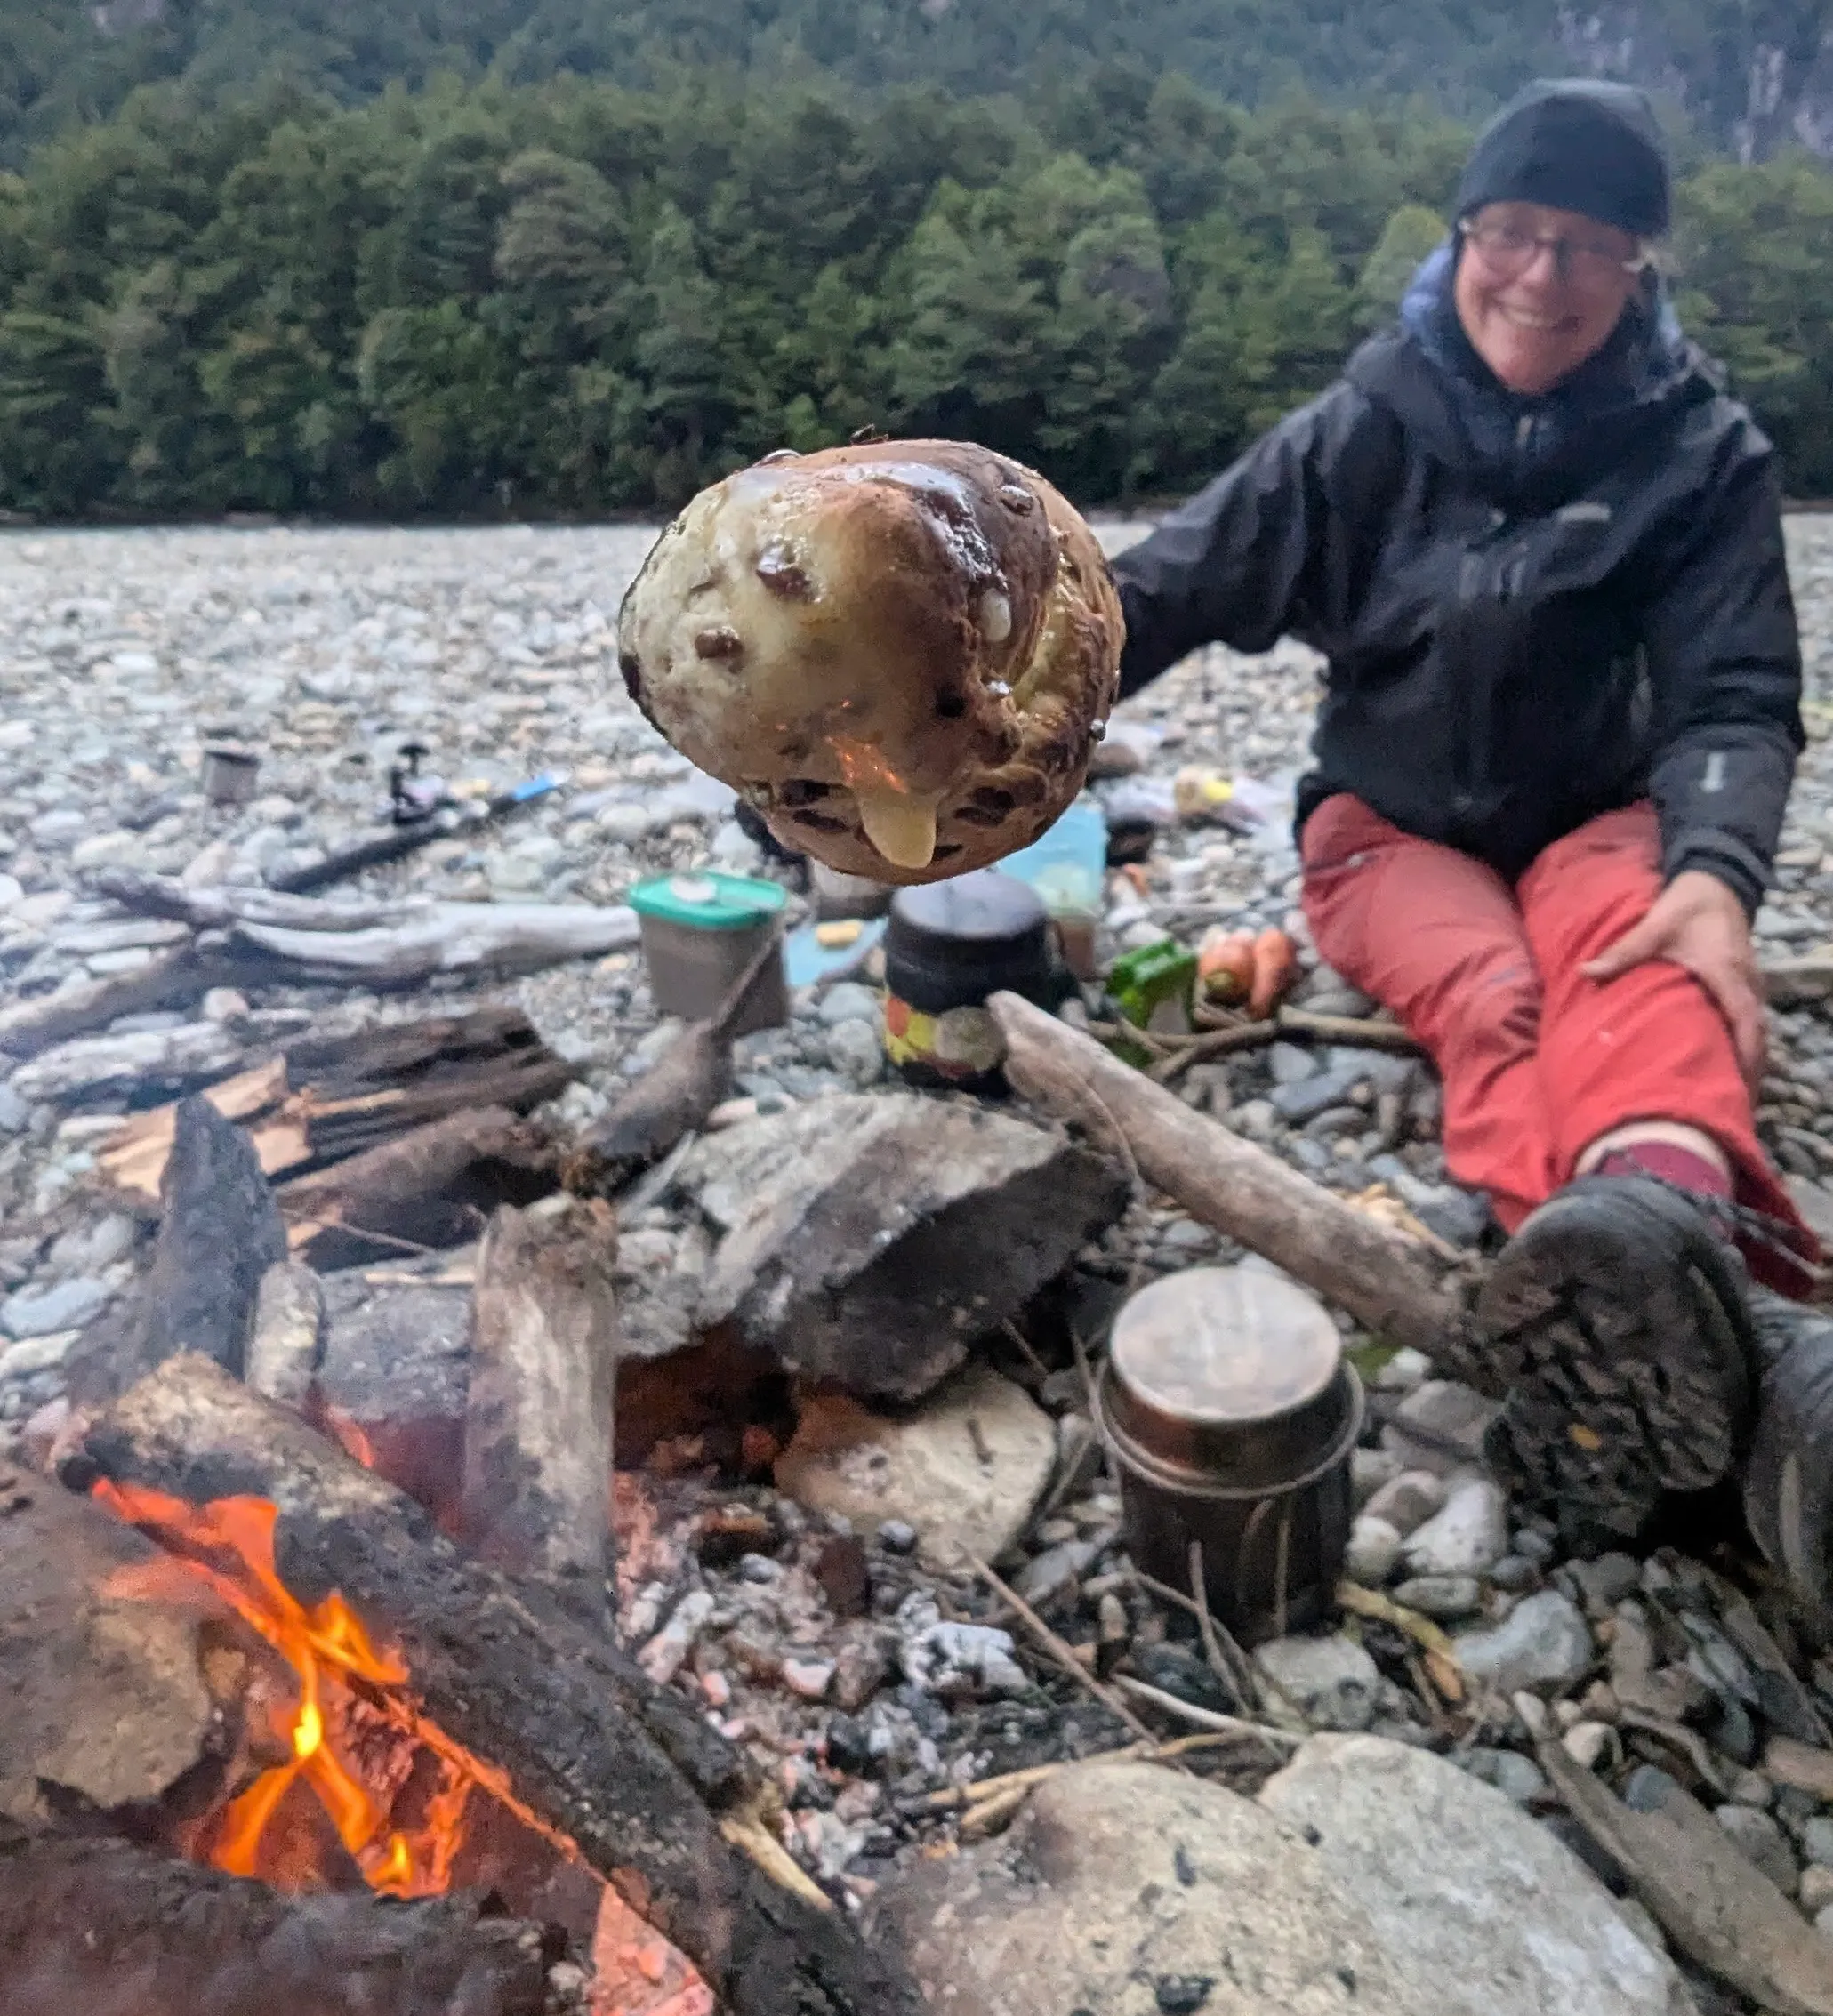
„Stockbrot is the German marshmallow”, Max once explained. It’s indeed a very popular activity in scouts or at children’s birthday parties: Someone prepares a simple bread dough, and everyone finds a straight stick to wrap the dough around before carefully baking it over the campfire. Honestly, most beginners will end up eating their Stockbrot outside burnt - inside raw.
The secret is patience: Wait for the flames to turn into ember and then carefully bake your bread while constantly turning. The dough requires patience, too, which is why we recommend this recipe for rest days or free afternoons.
Please only do a campfire if it’s safe and not prohibited!
Preparation
- Mix all dry ingredients (including optional ingredients.
- Pour lukewarm water: 150 ml (or 2:1 to the flour). Start mixing with your hand.
- If it feels too dry or hard to knead properly: Add a little bit more water. Knead for 2-3 minutes.
- Add the oil if you have. That should help make your dough less sticky. Keep on kneading for up to 5 minutes.
- Close your pot / tupper and store the dough in a rather warm place for roughly one hour. If you need the pot for cooking you could transfer it to a plastic bag. The dough should not dry out.
- In the meanwhile start your campfire.
- Search for straight sticks, roughly 1 m long.
- Clean one end of the sticks by removing the bark and dirt of the first 20 cm length with a knife.
- Wait for the embers
- Cut or rip off a little bit of dough and form a ball of maybe 5-6 cm in diameter.
- Roll it to a 20-30 cm long, thin sausage in your hands.
- Wrap the sausage tightly around the end of your stick
- Bake. Get close to the embers, fight with the other vagabonds for the best spot and constantly turn the stick for equal heat provision.
- Your bread is ready when it’s golden outside (or black ;) ).
- Enjoy hot!
Notes
-
If the outdoor temperature is rather cold, you should use warm (not hot!) water. Start mixing with your hand.
-
Take turns adding water and kneading little by little until you get a consistency that you can still handle but isn’t too dry either. Finding the right consistency is difficult and requires some experience.
-
Knead and stretch the dough for around 5 minutes. If you knead less it’s totally ok, but the better you knead, the more structure that’ll give to your bread and the nicer the final result. You can over-knead the dough though, don’t do more than 10 minutes.
-
How much yeast is needed?
Yeast is a living organism that feeds on the sugars present in flour. In doing so, it produces carbon dioxide and flavour compounds that leaven the dough and give it character. The speed of this process is mainly controlled by temperature: the warmer it is, the more active the yeast; the colder it is, the slower it works. At home, temperature can often be adjusted (for example by placing the dough in a warm room or fermenting it slowly in the fridge). Outdoors, however, you are dependent on ambient temperature. In these situations, adjusting the amount of yeast is easier, i.e. using more yeast when it’s cold. That said, using less yeast and allowing the dough more time generally leads to better flavour and a more balanced fermentation. However, longer fermentation is often less practical and requires more experience to judge correctly.Rule of thumb:
-> Warm conditions: less yeast
-> _Cold conditions: use warm water + more yeast — or extend fermentation time, if possible
…and don’t forget to squeeze your lemon.